
How to Make a Backsplash using Vinyl Floor Tiles
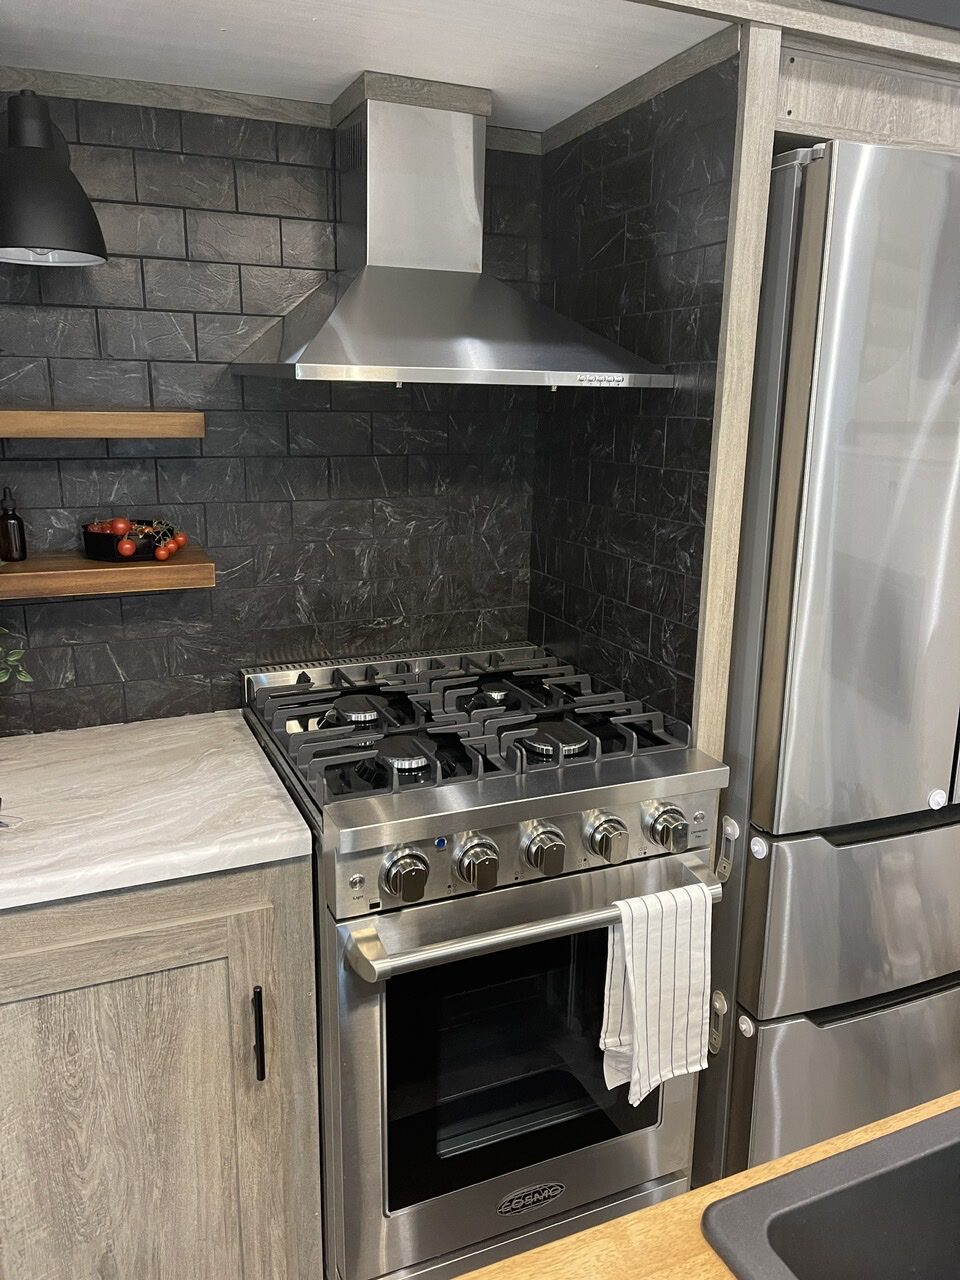
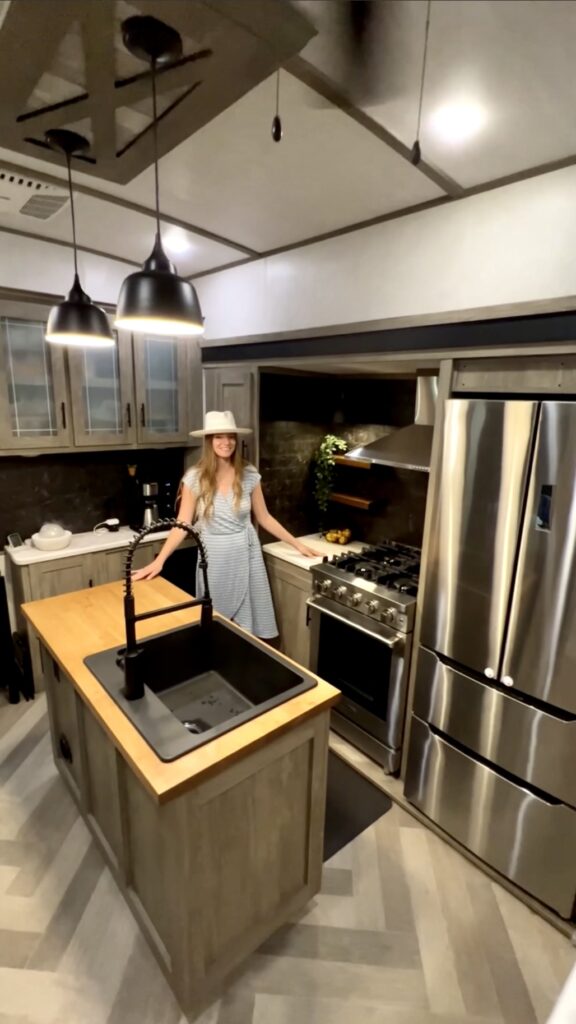
We absolutely love how our RV kitchen backsplash turned out and hope this helps you learn how to do this DIY project using vinyl tile on your own.
Table of Contents
Picking out your vinyl tile
When we started this project we were not able to find the color and size we wanted for the backsplash. So we had to create our own by cutting the 12” x 12” vinyl tile into 3” x 6” pieces. While deciding on what products to use in your RV you have to think about the weight and making sure it can flex. Since RV’s travel down the road and shake everything inside the material has to flex under all that movement.
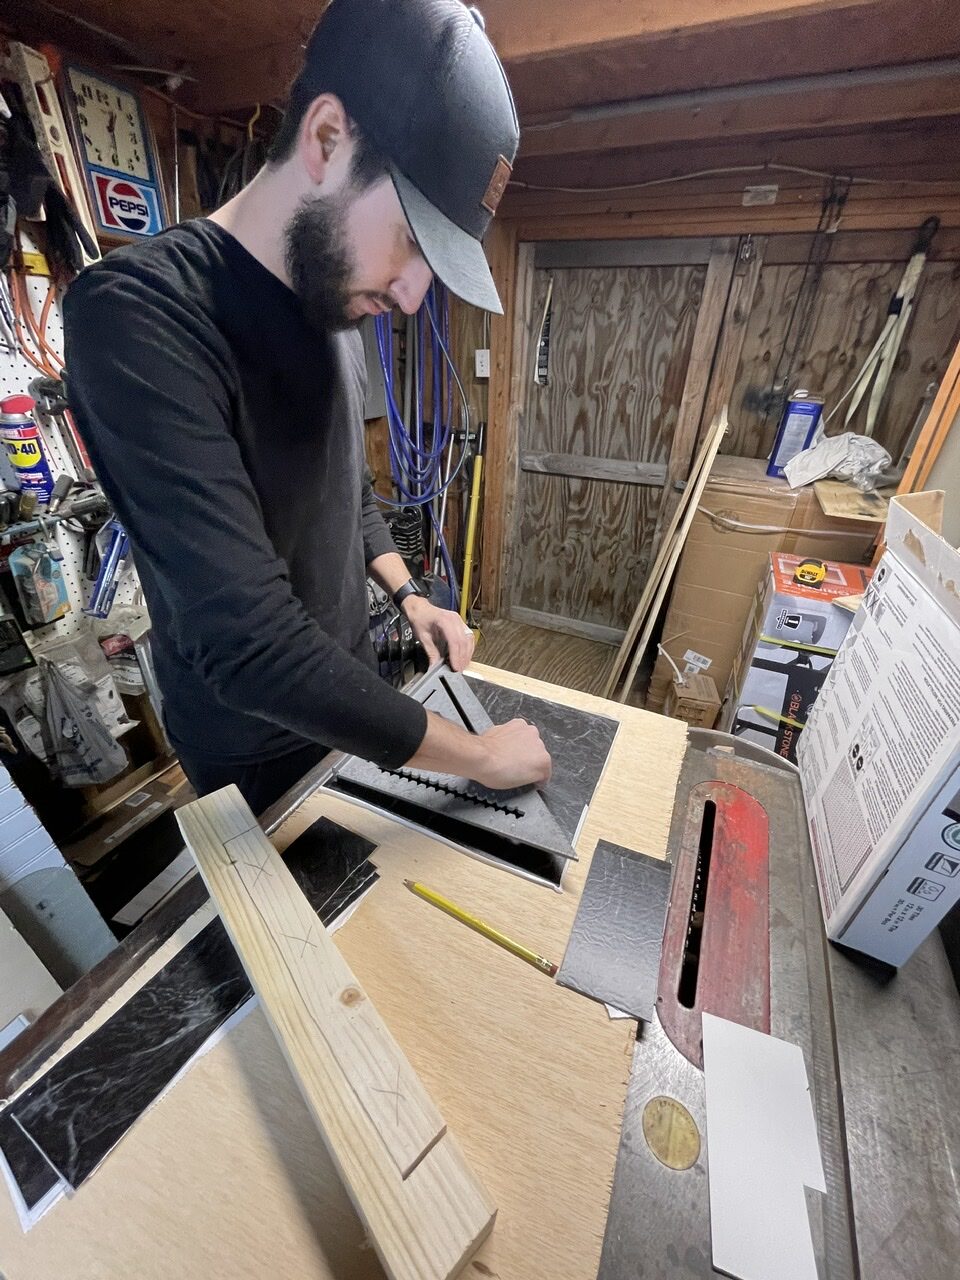
We picked up our vinyl floor tiles for the kitchen backsplash from Home Depot. This is the exact one we bought Black Marble Vinyl Tile. Each of the tiles were 12” x 12” square sheets. We cut them into 3” x 6” rectangle pieces to resemble more of a subway tile.
When we started off we were cutting each piece with a box cutter razor and it looked great but took a long time. So we ordered a tile cutter only because we knew it could make the project go faster and that we would use it again.
Things you will need to complete this project:
- Level
- Vinyl Floor Tiles (your choice of color and pattern)
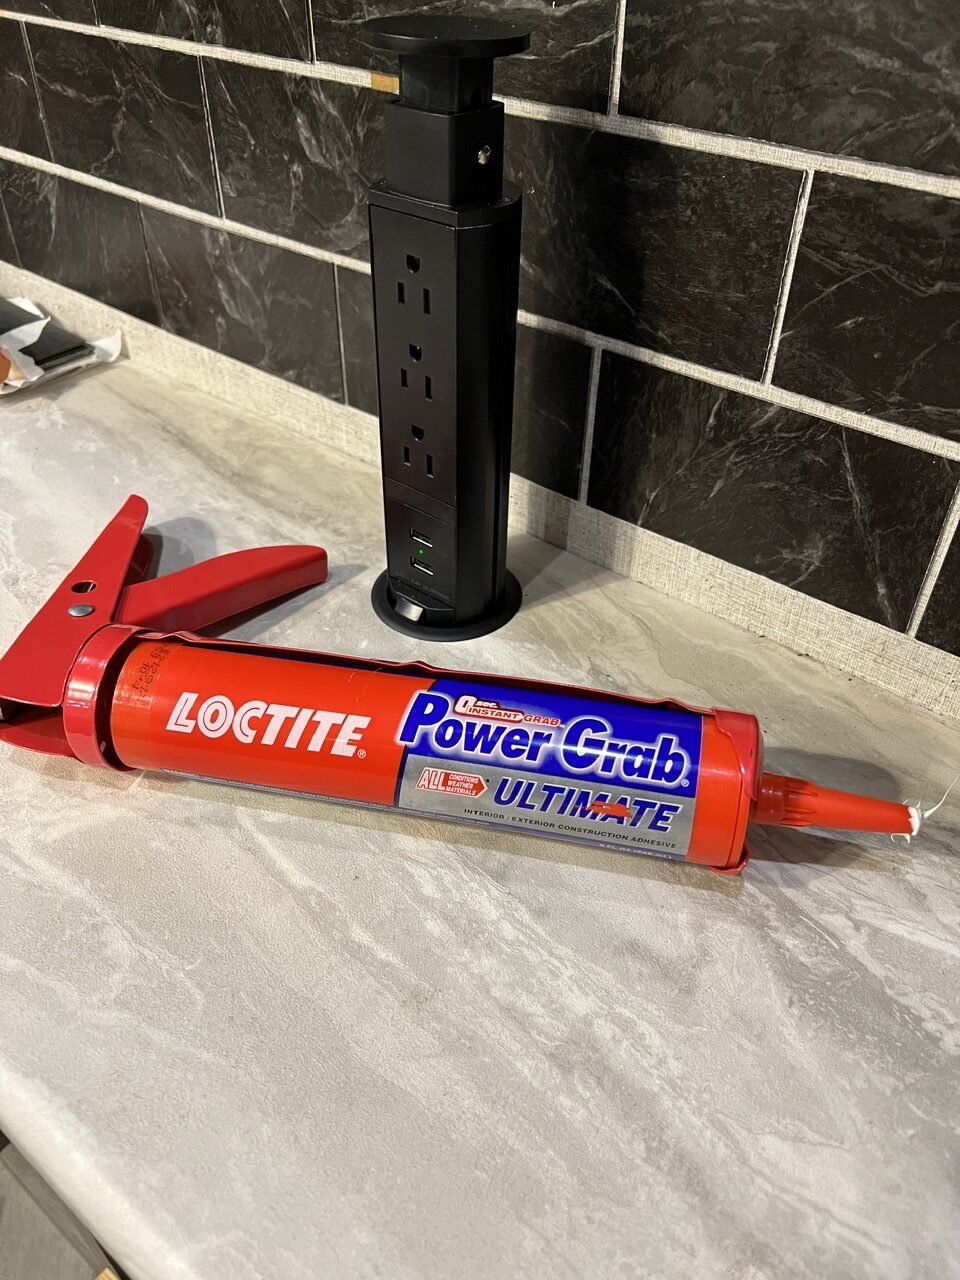
- Adhesive & a Caulk Gun
- Razor Blade (or a tile cutter- we bought this one after spend a long time on cutting them with a razor)
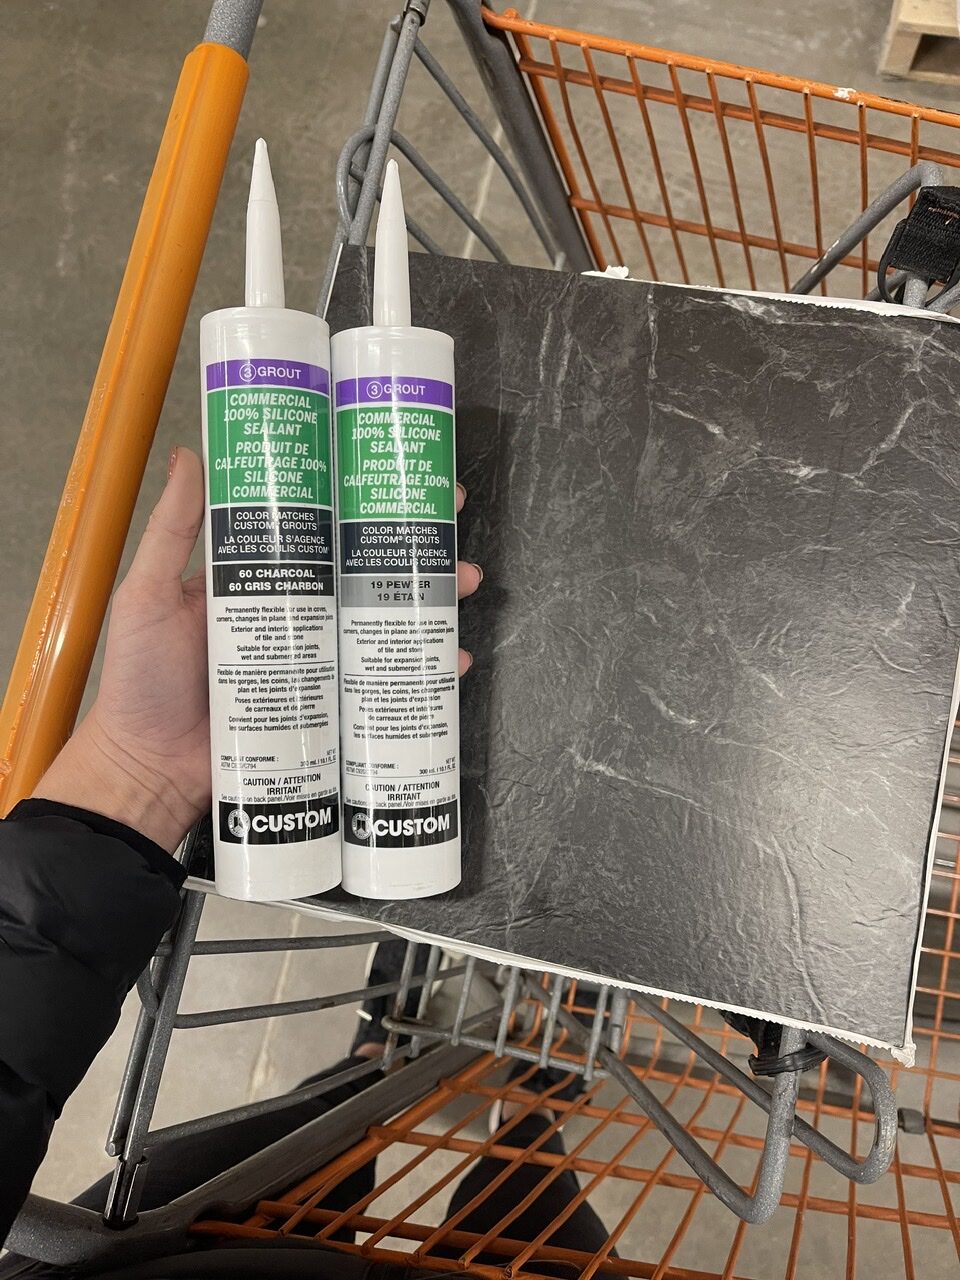
- Tile Grout (to fill in the middle lines)
- Pencil and Black Permanent Marker
- Tape Measure
- Blue Painters Tape
Click below to see this list on Amazon!
Tips on tile placement
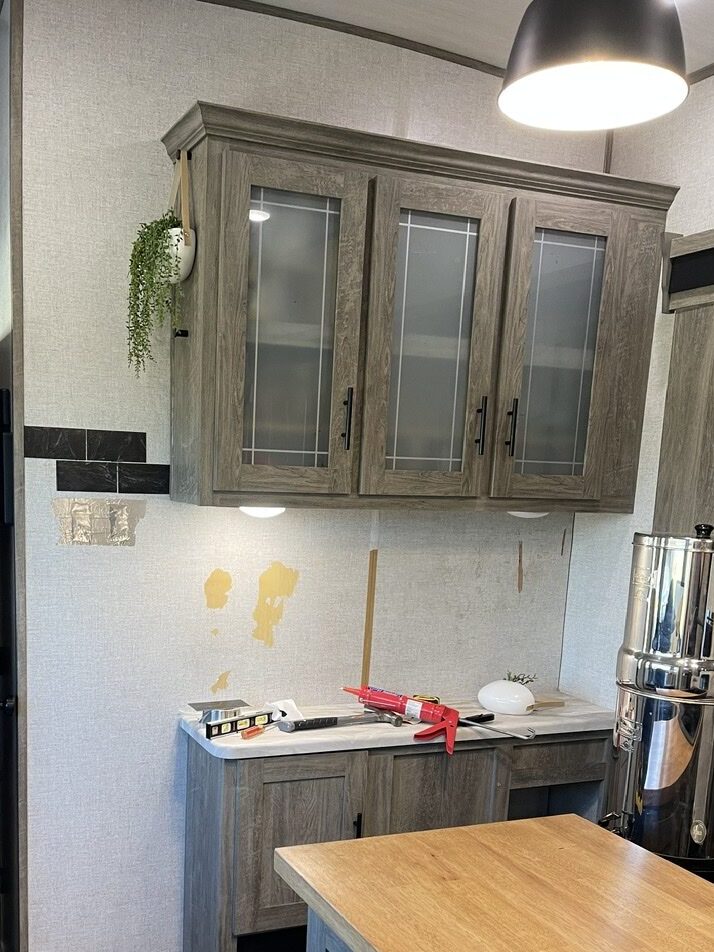
Measure the space for where you are going to place the backsplash. Take into account that you have to turn the tiles at the corners of the wall. With each corner you will measure your tile to continue to the next wall. By having it continue it will look like the tiles stay consistent through out the backsplash.
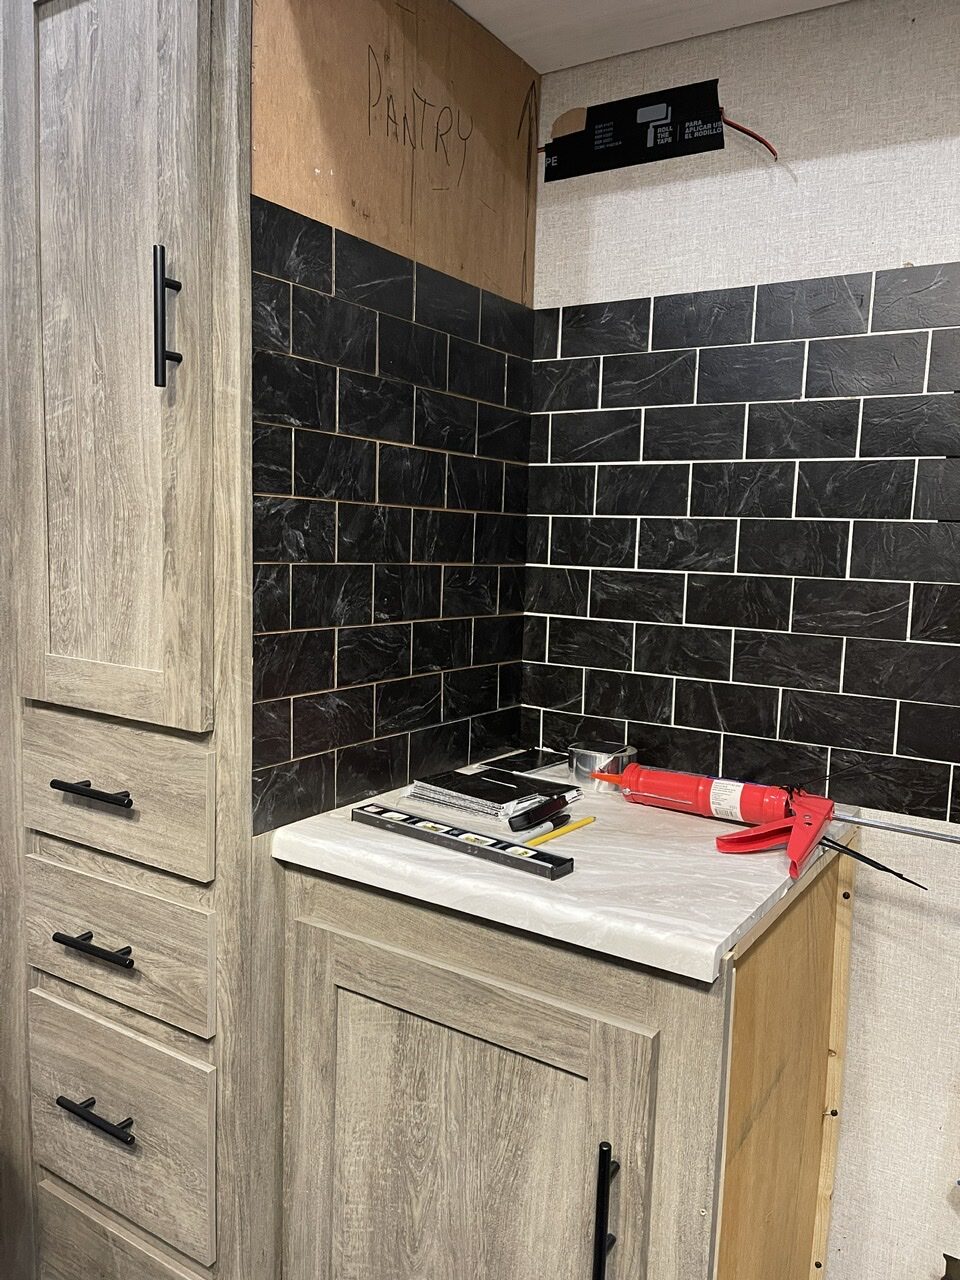
The placement we chose was this subway style. When you start to place the tiles on the wall you will want to add an adhesive to the back of the tiles. The vinyl tiles already have a sticky back but they will not hold up overtime. So you want to make sure to smear the adhesive across the backs of each tile.
This is the heavy duty construction adhesive we used and also bought an anti-drip caulk gun for it. After you place it on the wall it takes a few hours to dry. Come back when all the tiles are dried and stuck in place and you can begin to add your choice of grout that would complement your tile choice.
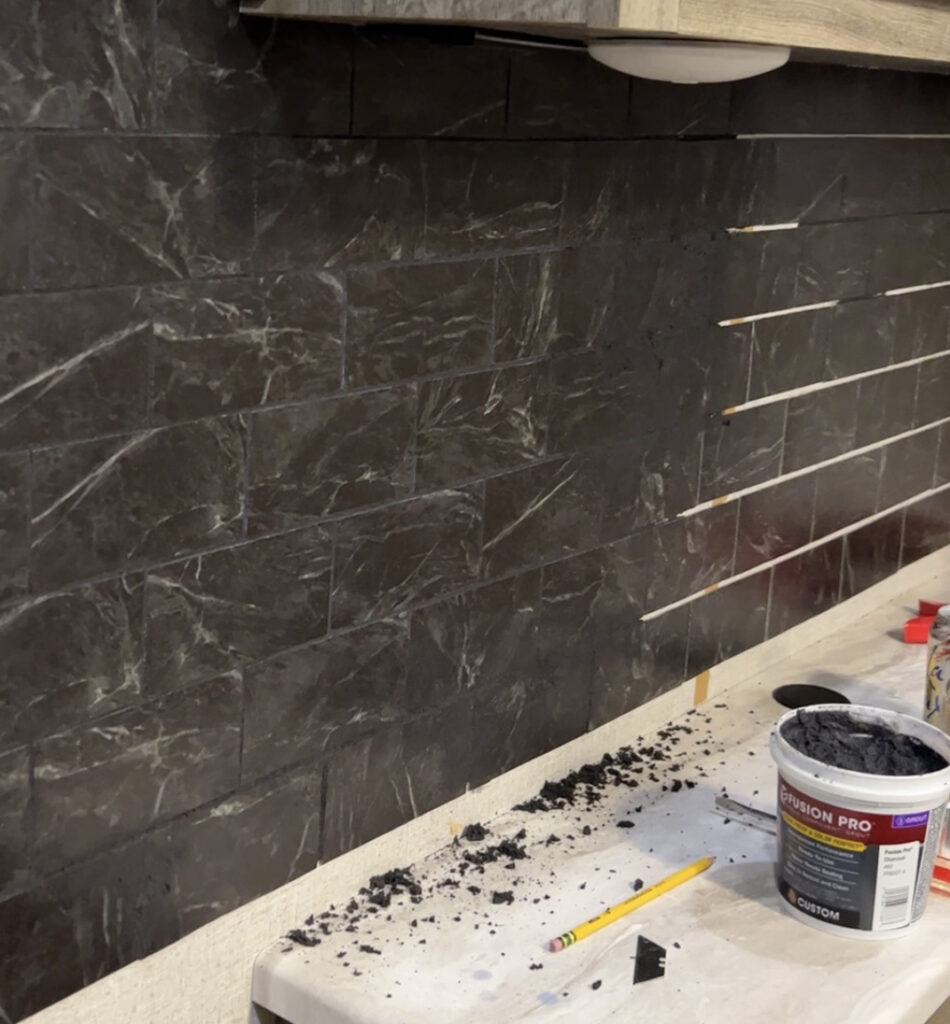
Working with Grout
Deciding what works best for the vinyl tile color you choose. The most popular color choices for grout are black, white, grey, brown and tan. We went with black grout to make it blend in with the black marble tile.
Apply a little bit at a time within the lines because when it’s time to wipe off the excess you do not want to damage the vinyl tiles. Grout is made up of sand and concrete so it is a more abrasive texture that can make marks on the vinyl.
Do not let it sit on the vinyl for more than a few minutes, you will want to gently wipe the excess away as you go with a lightly damp rag.
If you have any more questions leave a comment below and I’ll try my best to answer your questions.
We will be sharing more of our family adventures over on our Blog and Youtube. Can’t wait to share more with yall!
Our RV with the newly remodeled kitchen is here.
This post may contain affiliate links that can earn us a small commission from when you use my links but at no extra charge to you. We’re very thankful for your support!

